
How to Shrink Your Images for Your Website (Step by Step)
Why does image size matter for SEO?
Your website images are probably too big. This is one of the most common reasons websites load slowly. Slow websites lose visitors and rank lower on Google. The good news: fixing it takes about two minutes per image once you know how. No tech experience needed. Reading time: approximately 5 minutes.
More details? When you take a photo on your phone or camera, the file is enormous. We're talking 3MB, 5MB, sometimes 10MB or more. Your website does not need that much information to display a beautiful image. Uploading large files makes your pages slow to load, and slow pages frustrate visitors and displease the Google.
The fix is simple: shrink the file before you upload it.
This is called image compression, and it sounds fancier than it is. You are telling the image to drop some information it doesn't need, so it loads faster without looking different to the human eye.
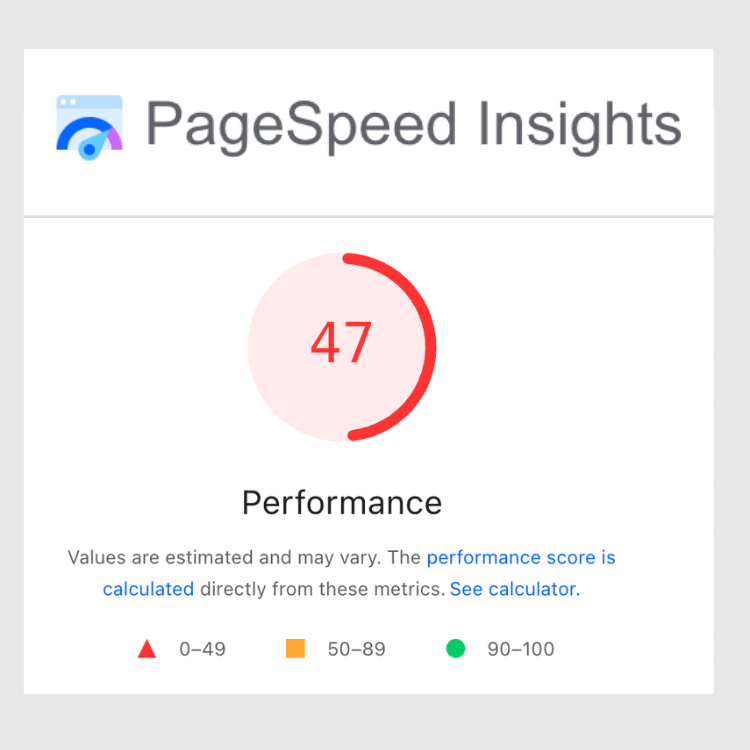
You can check your page speed in your Google Search Console under “Core Web Vitals” or you can go to https://tools.pingdom.com/
Before You Start: Two Numbers to Know
Before compressing, check two things:
File size — this is how much space the image takes up. Aim for under 200KB for most website images. Under 500KB for large hero or banner images.
Dimensions — this is the width and height in pixels. For most website images, 1500px wide is plenty. Your website does not need a 4000px-wide photo.
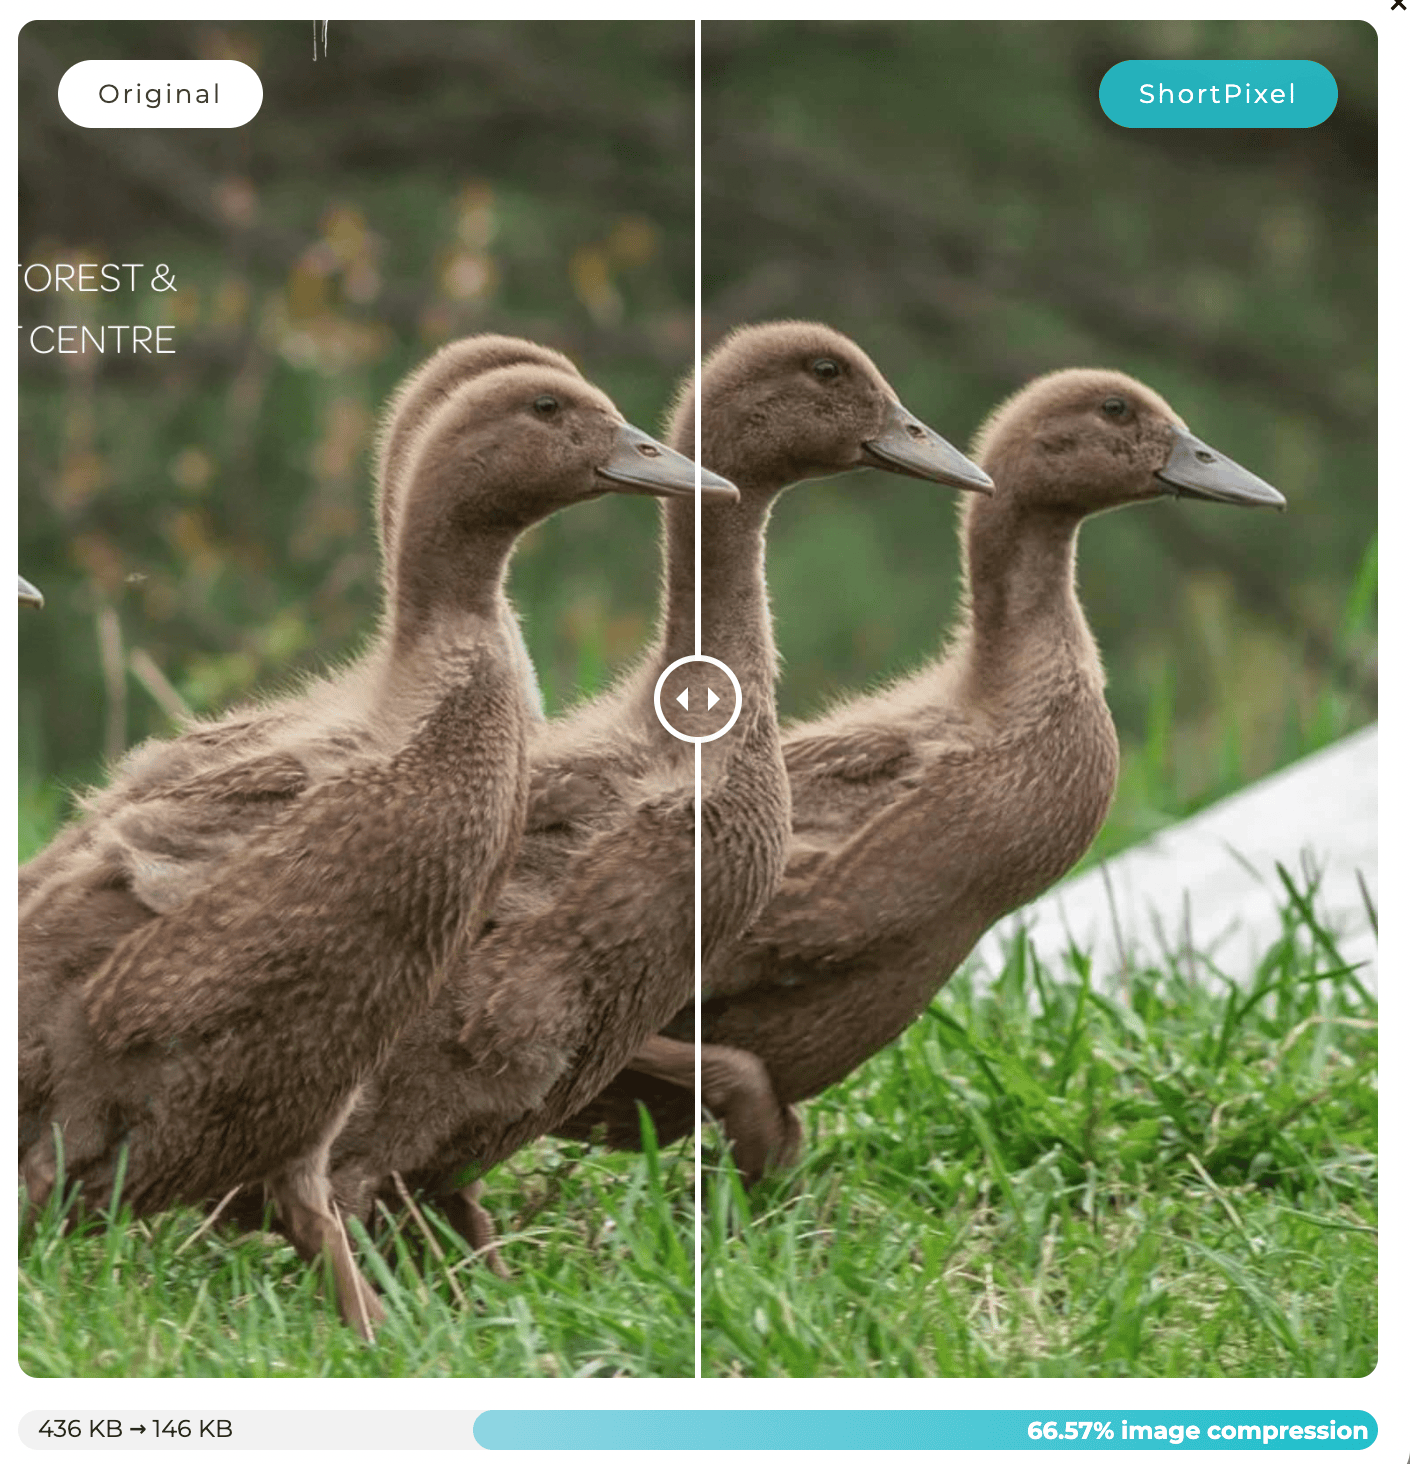
This shows how there’s no discernible difference to the human eye between the original and compressed image.
Step 1: Resize Your Image Dimensions First
Before compressing, reduce the dimensions. There is no point in compressing a 4000px-wide image when your website only displays it at 1200px wide.
Free tool: Squoosh. Go to squoosh.app, it works right in your browser, nothing to download.
Drag your image onto the page
On the right side, find "Resize."
Set the width to 1500px (the height will adjust automatically)
Leave everything else as is for now
Step 2: Compress the File
Now reduce the file size without losing visible quality.
Free tool: Squoosh (same tool!) Still on Squoosh after resizing:
On the right side panel, look for the format dropdown and choose WebP if your website supports it (Squarespace does), or JPEG if you are unsure
Use the quality slider at somewhere between 75 and 85%. You will see a live preview of how it looks
Check the file size shown at the bottom and aim for under 200KB
Click the download button to save your compressed image
That's it. Upload this new version to your website instead of the original.

Other Free Tools Worth Knowing
TinyPNG (tinypng.com): Drag and drop up to 20 images at once. It compresses them automatically, and you download the results. Super simple, no decisions to make. Great if you have a batch of images to do at once.
Canva (canva.com). If you are already using Canva to create graphics, you can resize and download at a smaller file size right from there. When downloading, choose JPEG and slide the quality down to around 80%.
ImageOptim (imageoptim.com) Mac users only. Drag images onto the app, and it compresses them automatically. Very simple.
I use Short Pixel and have for years. Once I master something, I tend not to change. :)
A Note for Squarespace Users
Squarespace does some automatic compression on its end, but it is not enough on its own. You will still get better results and better SEO if you compress images before uploading. Think of it as doing your part before handing things over.
Also: rename your image files before uploading. Instead of IMG_4823.jpg, use something like ottawa-seo-copywriter-elle-odyn.jpg. Google reads file names. This is a tiny thing that adds up.
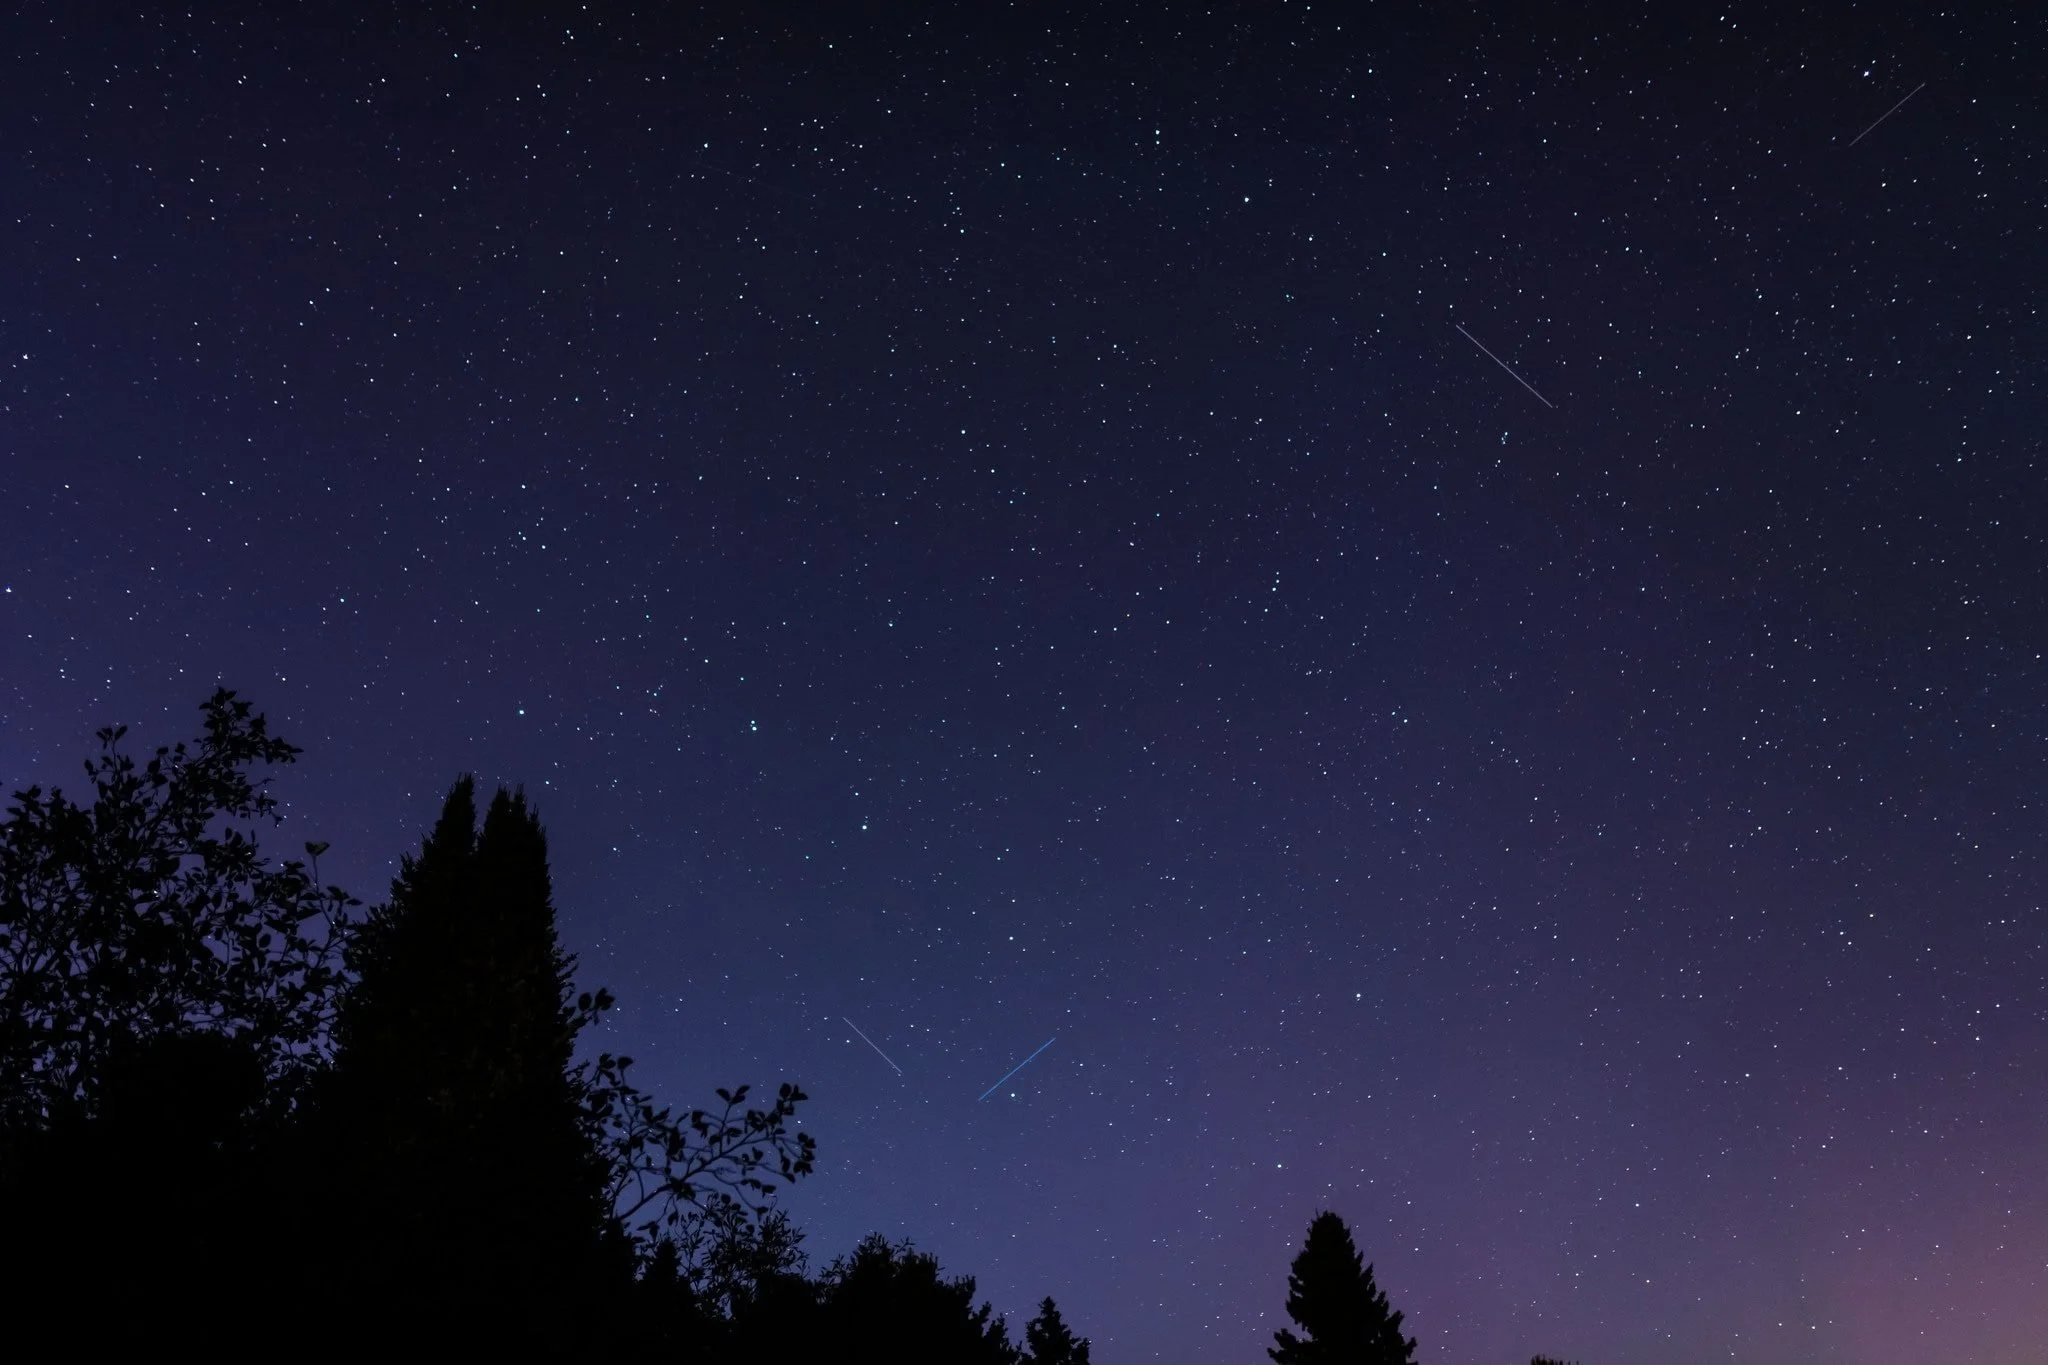
This is really important, especially for all of us photographers who fill our websites with our work! (Image of shooting stars and a touch of Northern Lights at my office)
The Short Version
Go to squoosh.app
Upload your image
Resize width to 1500px
Choose WebP or JPEG, quality at 80%
Download and upload to your site
Two minutes. Done. Your website speed will thank you, and THIS is an excellent way to increase your SEO, which means the people who are looking for you are more likely to find you!
If you want support getting your website found by the right people, the visibility quiz is a good place to start. It takes about five minutes.